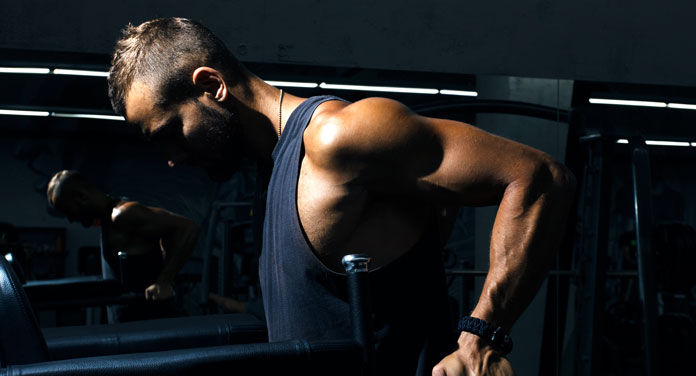
Find out how to do dips correctly. Dips help you build muscle effectively. With this exercise, you will reach several muscle groups at the same time. This includes your chest, shoulders, and triceps muscles.
Dips can easily be incorporated into your full-body workout or split plan. We explain the correct technique and execution and go into the most common mistakes.
What Is Behind Dips?
The exercise is also translated as plank or bar plank. You work exclusively with your own weight and can increase with additional weights.
Dips are suitable for advanced strength athletes, as a certain basic musculature is necessary. Don’t worry, every beginning is difficult. With our tips, you will be able to master the exercise without any problems.
You Target These Muscles With Dips
The individual sequences in strength training are divided into isolation and basic exercises.
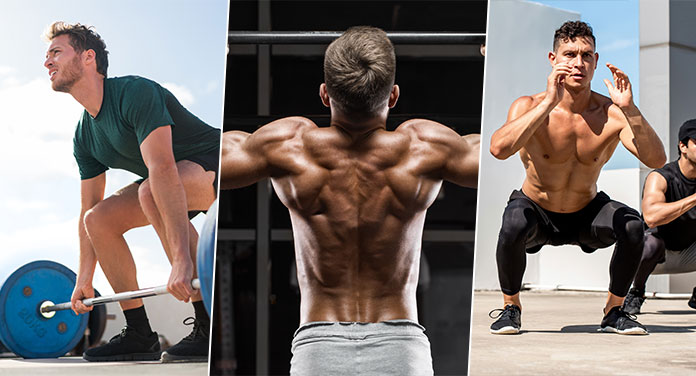
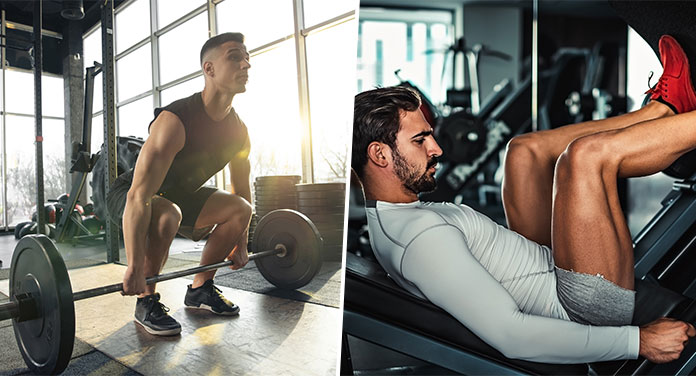
Basic exercises are suitable for the initial phase of training and later remain an important part of your training plan. There are two reasons for this: You get to know the exercises better and your tendons and joints get used to the new loads. Basic exercises include dips, bench presses, deadlifts, or squats. They belong to the group of compound and compound exercises because you target multiple muscle groups with higher intensity.
Isolation exercises are more likely to target a specific muscle. This includes concentration curls or chin-ups for the biceps, and cable push-downs for the triceps. When doing isolation exercises, you cannot avoid loading other muscle groups. In contrast to the basic exercises, the tension stimuli are too low. You don’t set a real muscle stimulus with it.
The main muscles include:
– the lower chest
– the triceps (all three heads)
– the elbow muscles –
– the front shoulder head
– the forearms
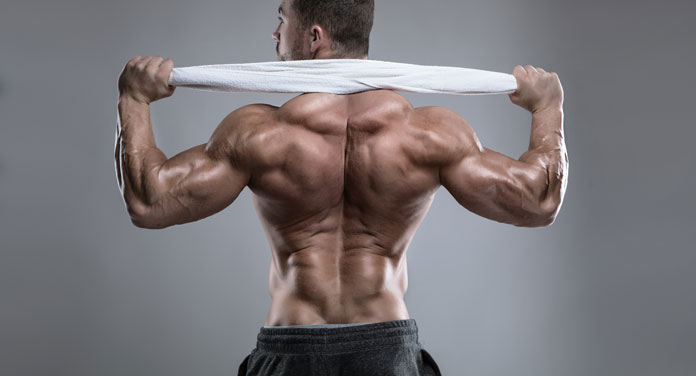
Your body uses the following auxiliary muscles:
– the latissimus
– the rotator cuff
– the trapezius muscle
– the abdominal muscles
The focus is primarily on the lower chest, the triceps, and the front shoulder head. The auxiliary muscles support the body during the exercise. For example, the abdomen and lats are engaged to keep your body in the correct position. This shows why the exercise is more suitable for advanced athletes.
Correct Form For Chest And Triceps
Depending on your body tension, you can direct the muscle stimuli to your chest or triceps. Just direct the power to your chest if your triceps tire first. It works the other way around as well. We show you the two variants.
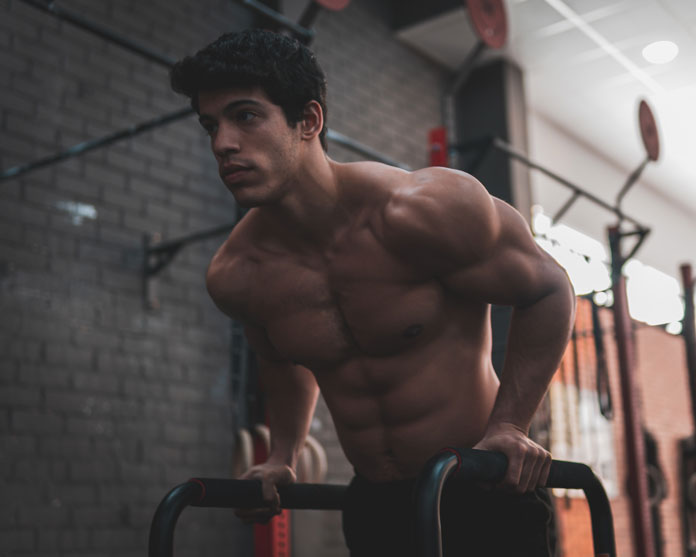
For The Chest:
1. Find the correct starting position
In the first step, grab the dip bars shoulder-width apart. Depending on the device, the width of the parallel bars can be adjusted to your body shape. The wrists must not fold inwards. The back of your hand and your forearm form a line. Sit on the plank and straighten your arms while keeping your elbows pointing back but not out. Then pull your shoulder back and down at the same time. This raises your breastbone and lets you look forward. Your back stays straight. Cross your legs for more stability.
2. Find the correct downward movement
In the second step, lower your body down until your chest is about level with your hands. It is best to form a 90-degree angle with your upper arm and forearm. The forearms remain in the same position. Maintain a stable and tense posture. This is where the supporting muscles come into play.
3. Find the correct upward
movement From the bottom position, push your body back to the starting position. Pay special attention to your elbows. Don’t push them all the way down at the top point during this exercise.
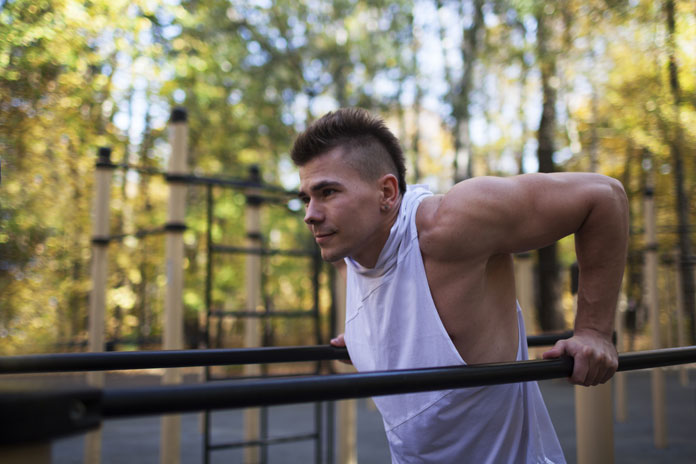
For The Triceps:
1. Find the correct starting position.
Keep your elbows as close to your body as possible and grab the dip bars. Keep your wrists straight. Your wrist and forearm form a line. Push your shoulders forward and up at the same time. You stretch your legs out in front.
2. Find the correct downward movement
Go into the plank position and keep your head and upper body upright. You are looking straight ahead. Lower your torso slowly and in a controlled manner while keeping your forearms in the same position. The elbows point backward and not outwards. At the lowest point, achieve a 90-degree angle with the upper arm and forearm.
3. Find the correct upward
movement From the bottom position, push your body back to the starting position. Pay close attention to your elbows. Don’t push them all the way through at the top point during the exercise.
Too weak to perform?
No problem, because bodybuilding legend Arnold Schwarzenegger will support you here. Schwarzenegger developed the Arnold Dips, which differ in three levels of difficulty. All you need is a training bench or a comparable object (corner bench, flat table, etc.)
Arnold Dips Execution:
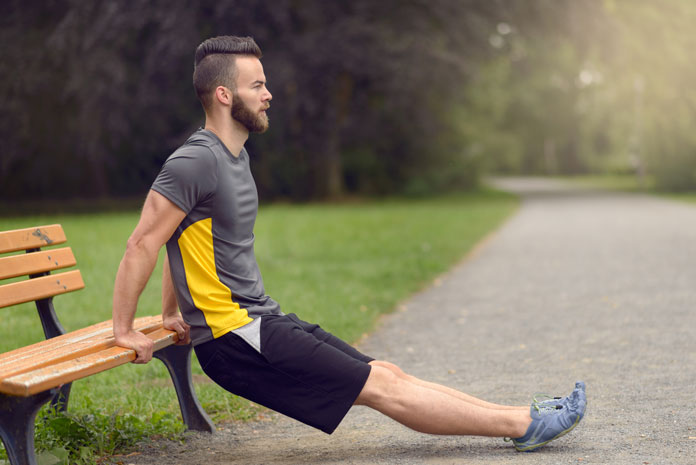
Sit on the flat bench and grab the edge left and right. Straighten your arms and lift your buttocks. Keep your upper body upright and your lower back straight. The abdominal muscles remain tight.
Easy: Bend your legs and place your feet on the floor (similar to sitting). Push yourself up and down.
Medium: Straighten your legs until the soles of your feet completely cover the floor. Do the exercise.
Hard: Straighten your legs completely and only touch the floor with your heels. Alternatively, you can place a second bench next to it and put your feet down there. Likewise, a training partner can hold your feet.
The rule here is: to point your elbows out to engage your lower chest. Keep your elbows close to your body to engage your triceps more.
Still Too Heavy? No Problem!
Large gyms have weight-assist dip machines. Your legs are not crossed or extended forward. You lie hunched over a small surface that, with some counterweight, pushes you up and reduces your body weight. Alternatively, a training partner can support you.
Avoid These Three Mistakes When Performing Dips
Mistake #1: Don’t bend your arms too far
Reaching a 90-degree angle with your upper arm and forearm at the lowest point is enough. Likewise, you must not straighten your arms at the highest point. This puts stress on your shoulder joints and causes pain.
Mistake #2: Avoid
swaying In the chest variation, the legs are folded back to provide more stability. Keep your legs forward if you’re commuting too much. The pendulum movements usually happen during the first attempts.
Mistake #3: Bending Your Elbows Out
This mistake is common with the triceps variation. The further out you are, the less you hit the triceps. Keep your elbows as close to your body as possible while pointing backward at the same time. If possible, the dip bars should always be shoulder-width apart so that you get into the correct starting position. This will help you avoid mistakes in the down and up moves.
We wish you every success with your training!